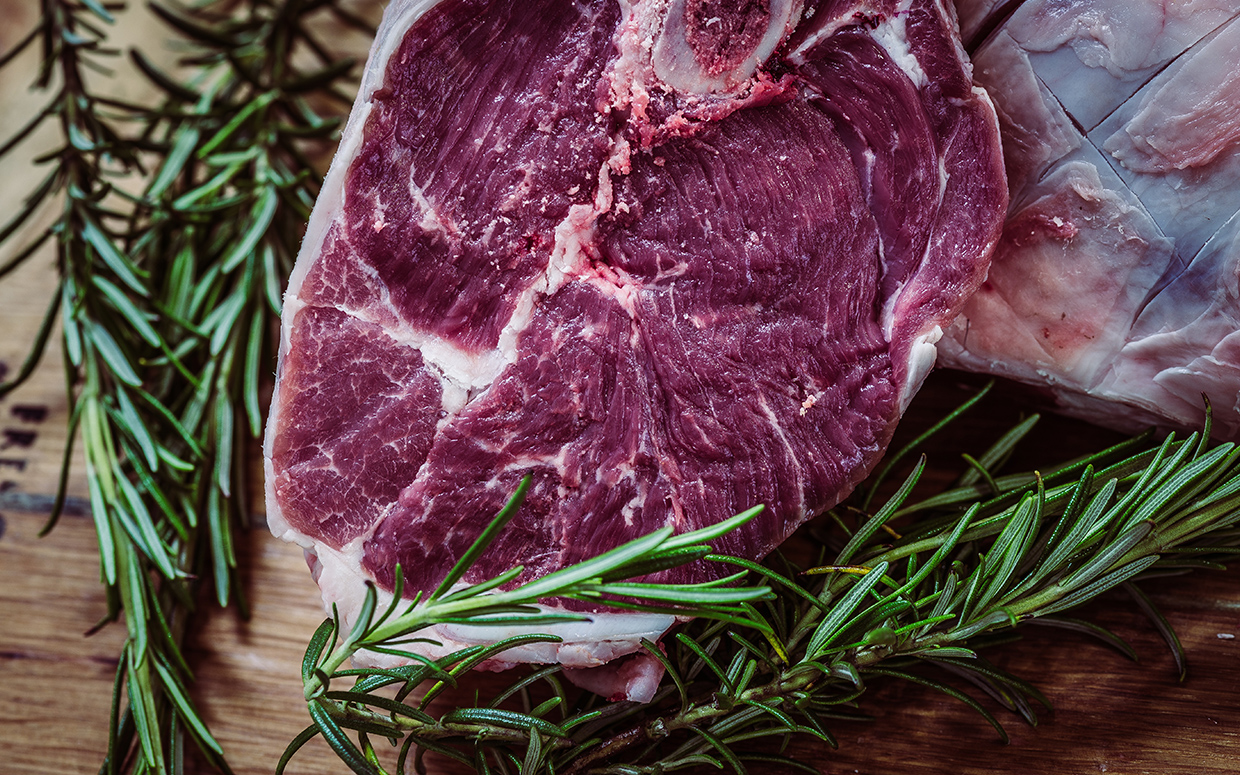
Well, folks, it’s getting to be that time of year again- that time of year when it’s almost too cold to go outside and grill and we start craving foods that combat those cold temperatures. While this doesn’t mean that we have to say goodbye to our nice steaks (there are many ways to cook them inside in the kitchen) it does mean that the season of soups and stews, of braising and roasting is coming. As a butcher, this is an exciting shift. We’re moving from the cuts of meat that are well-known and easy to recognize, to the cuts that are not as familiar, often overlooked, but are packed with more flavor. The problem with many of these cuts is that they are typically tougher pieces of meat and require special methods of cooking to prepare. One of these methods is one of my all-time favorite ways to cook: braising.
Braising is, in simplest form, is slow-cooking in liquid. It is a method that is nearly universal in practice; ranging from a variety traditional dishes in northern China, to a Jewish brisket, certain preparations of Mexican carnitas, and ossobuco–Italy’s famous preparation of a crosscut veal shank. The common denominator between all of these different recipes is that they are all pieces of meat that have substantial amounts of fat and connective tissue. It takes time to break that stuff down, rendering the meat edible. But by the end of the process the meat is tender enough to be eaten without a knife, and having both absorbed and contributed to the flavor of the gravy that remains of the cooking liquid.
As with any cooking method that results in such “simple” foods, there are some very important steps to braising that, when left out or minimized can prevent your cooking from reaching its full potential. The most important, in my opinion, are:
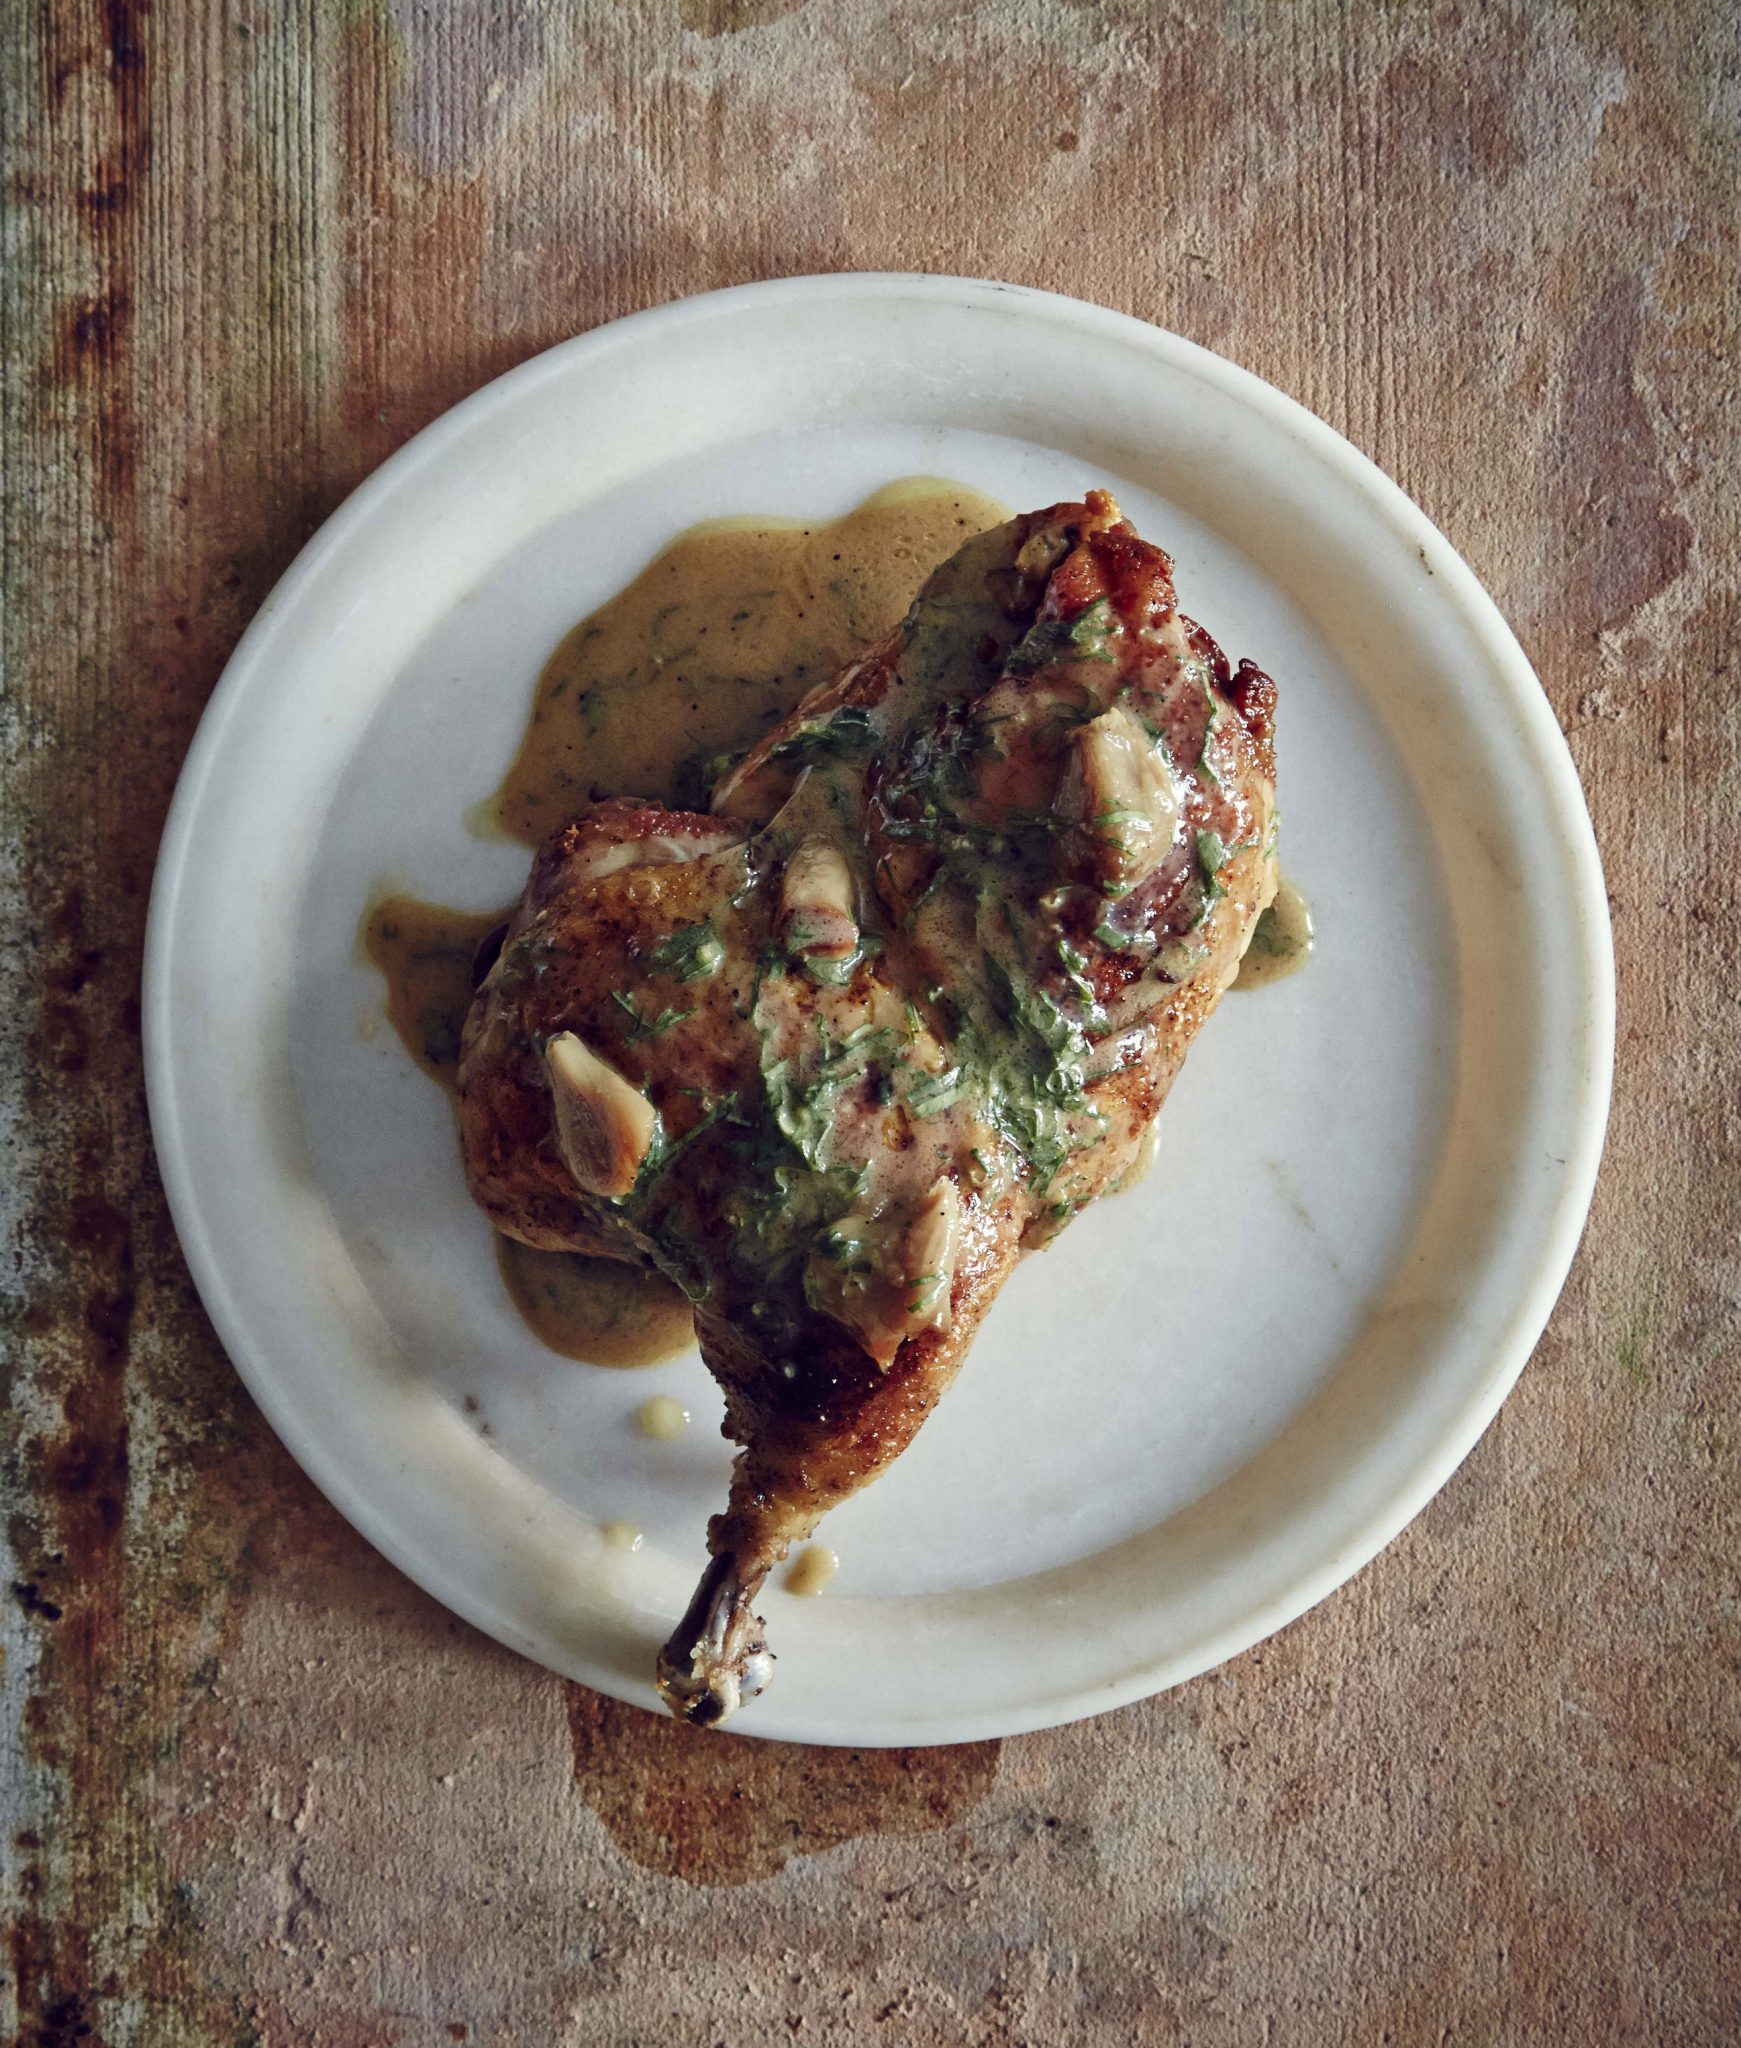
- Sear the meat. This is definitely one of the most misunderstood steps of the braising process. Most recipes will all on you to brown your meat before you begin to cook it but nearly always the neglect to specify why. Contrary to popular belief this step isn’t done to to capture moisture, but rather to deepen the flavor of the dish as a whole. By altering the chemical nature of the outer layer of meat (a process referred to as the Maillard reaction) you are adding a carmel/roast-y flavor to the meat that goes miles in improving your dish.
- After searing the meat, recipes often call for the sautéing of vegetables and spices. It is very important that you do this in the order that the recipe calls for. For example, if you were to add onions and garlic at once, in the time it takes to sauté an onion to desired softness, any flavor that the garlic would have added has been lost. Make sure to add your aromatics and spices later in the process.
- Choose your liquid wisely! Any liquid can be used, but the most common are wine, beer and stock. Any will work, just make sure you use something that will complement your spices and the meat that you’re using.
- Skim the fat! While not the most crucial, this prevents your dish from being overly greasy when finished. This especially matters for fattier meats, such as the short rib.
- Patience! Braising is a method of low and slow cooking and it takes time. Don’t rush it.
- Don’t worry about it! Braising can, and probably should, be made a day in advance. That extra time, with all the ingredients sitting together let flavors to continue to blend. That’s also what makes it great for entertaining. Make it the day before and all you have to do when your guests arrive is warm it up.
When done properly, braising yields some of the most succulent, delicious meat possible without an overwhelming amount of effort. Don’t just take my word for it though- stop by the counter to pick up your favorite cut and see for yourself.